.jpg)
.jpg)
- Styles (3)
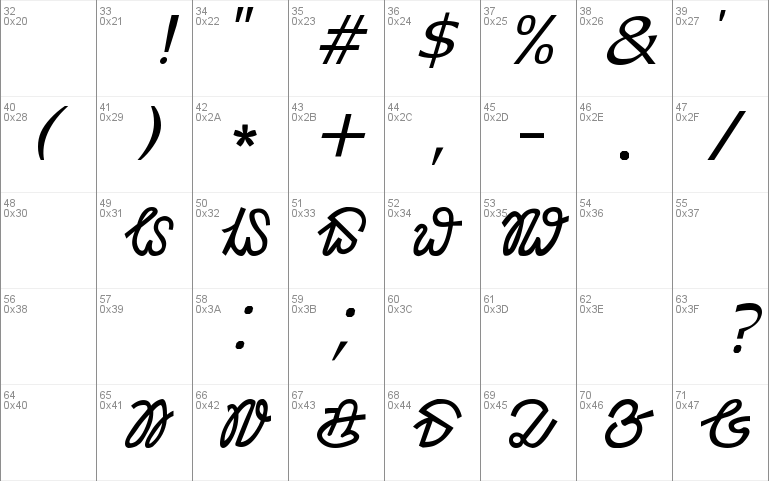
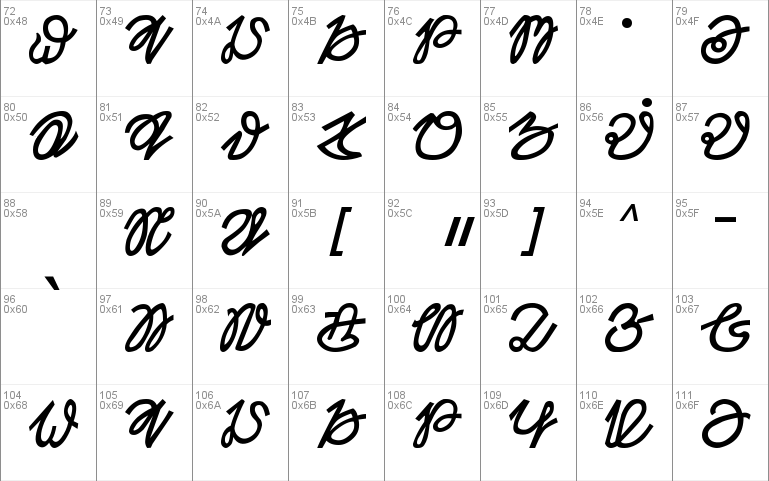
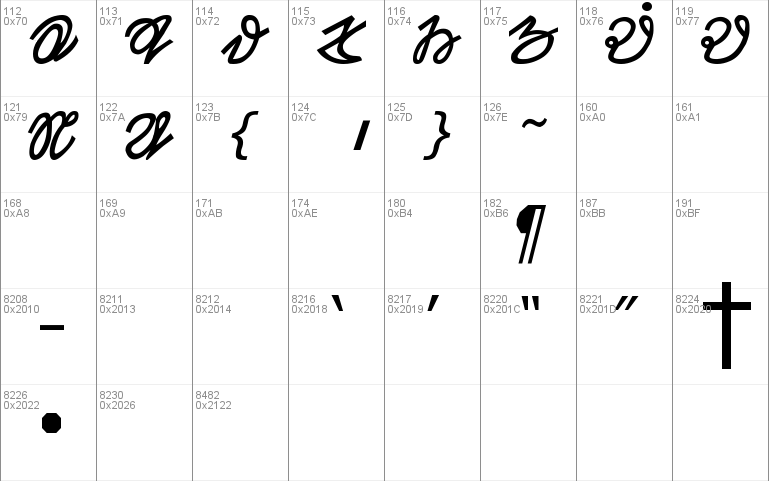
- Character Maps
- License


- Free for Personal Use
- Free for Commercial Use
- Modification Allowed
- Redistribution Allowed
Extended information
Read more
In the following, we have provided some information that will be helpful in
using the Ol Chiki fonts productively. However, this is not a tutorial on any
product, and for accurate information, the users are advised to refer to
the manual of the corresponding software, and the authors do not own any
responsibility for any damage arising out of using the guidelines given below.
A. Deletion and Installation of Ol Chiki fonts:
==============================================
A font is uniquely identified by its name. For example, ol_ciki_classic
is the name of one of our font. The names of other fonts available with
this package are ol_ciki_old, ol_ciki_optimum, ol_ciki_regular, ol_ciki_royal,
and olciki_usoro. One can install each of these fonts at the same time.
In order to install a new version of a font, one must first delete the old
version of the font if it does exist. The installation of a font means the
corresponding font file is copied to some system directory (in case of
Windows 98, it is c:\windows\fonts). Note that the name of a font is not
the same as the name of the file that contains the font. File name
containing the font can be changed without changing the name of the font.
It is best to delete the old version of a font, and install a new version
of the same font using "fonts window" available from the control panel window.
In the following, 'click' always means 'single click'. The following
is a basic guideline for installing a new version of a font.
To Open the Fonts folder:
=========================
(i) In Windows 98/ME, go to the fonts window by double clicking by using
left mouse button(LMB) as follows:
start-->settings-->control panel-->fonts.
What it means is that first click(using LMB: Left mouse button) on start,
and then move the mouse to 'settings', and then move the mouse to control
panel, and click (using LMB) on it.
This would give the control panel window. Here you double click(using
LMB) on the fonts icon, and this would give fonts window.
In Windows XP, the sequence is start-->control panel-->fonts.
Click(using LMB) on start.
Click on control panel.
Finally, double click(using LMB) on fonts icon, and this would give
fonts window.
To Delete the Fonts:
====================
(ii) After the above operation, the names of all the fonts will be shown
in the fonts window.
Select all the fonts that you want to delete by keeping the control
key pressed, and
Clicking the font icons one by one using LMB. The selected fonts
will be shown in blue colour.
Now click(using LMB) on the file menu of the fonts window, and then
click(using LMB) on 'delete' submenu.
This would delete the selected fonts, and move them to the recycle
bin.
The delete option can also be obtained by keeping the control key
pressed, and clicking on one of the selected fonts using right mouse
button(RMB).
To reinstall the Fonts:
=======================
(iii) Now in order to install the new version of the deleted fonts,
click(using LMB) on the file menu in the fonts window,
and then click(using LMB) on 'install new font' submenu. This would
give you a subwindow in a window showing a folder in the current
drive(C, D, or E etc.), and a subwindow in the same window where
you can change the drive in the first subwindow.
If the Ol Chiki fonts are present in a folder in the current drive,
the go to the folder where fonts are present by double clicking
(using LMB) on the sequence of folders leading to the folder containing
the fonts.
Otherwise, first select the desired drive from the drive subwindow
using LMB, and then go to the desired folder as above. The list of
fonts available in the folder will be available in another subwindow
of the same window. Then if you want to install all the fonts
available in the folder, click(using LMB) on 'select all'.
However, if you want to install only some of the fonts, then select
only those fonts by keeping the control key pressed, and
clicking(using LMB) on the desired fonts in the list. Then finally
click(using LMB) on OK button. One can also install a new font,
just by dragging the font file using LMB from the folder, and
dropping it in the fonts window. This may not work if the older
version of the font is already present.
Installing a new font is the same as above except that step 2 will not
be there. Besides Msword, Openoffice, and Pagemaker, this version of the
Ol Chiki fonts also works correctly in another popular word processing
software, called Abiword. Both Abiword and Openoffice are free software. All
these word processing software would give you a choice of selecting a font.
Once you have selected a font, you can start typing in using the font. The
following is a brief guideline on how to prepare a good looking document.
B. Features of a good looking document
Conceptually, a good looking document should be easily readable, and
this can be achieved if the spacing between characters in a word is in
proper proportion to the spacing between words, and between lines. As a
result, most word processing softwares provide facilities for adjusting
(i) the spacing between characters in word,
(ii) the spacing between words,
(iii) the spacing between the lines.
In Ol Chiki fonts, we have set the default spacing between characters
such that it is normally not required to adjust it for the font sizes
ranging from 8 to 12.
NOTE HERE that for font sizes below 8, this spacing may have to be
slightly increased, and for the font sizes above 12, this spacing
may have to be slightly reduced. Let us now see how these parameters
can be changed in Ol Chiki text.
C. Changing the font of Ol Chiki text
All Ol Chiki fonts except olciki_usoro have the same keyboard mapping.
Hence, one can easily change the font of any part of Ol Chiki text. In
olciki_usoro, the keyboard has the same mapping except that ahad is not mapped
to any key, and the combination of five special characters with ahad are
mapped to 1 thro' 5. The following is a basic guideline for changing the font
of any part of Ol Chiki text in most word processing software.
(i) Select the desired part of the text by keeping the LMB pressed, and
by moving the mouse horizontally/vertically so that the desired portion
of the text gets selected, and then release the LMB. The selected
portion of the text will appear darkened.
(ii) Select the desired font from the menu where the name of the current font
appears using LMB. Then do a single click (using LMB) on any part of the
text. This would change the font of the selected part of the text to the
newly selected font.
Alternately,
(ii) Click on the selected part of the text using RMB. This will give you
font/character submenu from which the desired font can be selected.
After this, click(using LMB) on the OK button, and this would change
the font of the selected part of the text.
D. Changing the font size of Ol Chiki text
It is easier to edit using larger font size(say 11), but what needs to be
printed may be of smaller font size(say 9). This can be easily done as
follows in most word processing software.
(i) Select the desired part of the text as in C(i) above.
(ii) From the menu where the current font size appears, select the desired
font using LMB. Then click(using LMB) on any part of the text, and this
would change the font size of the selected text to the desired value.
Alternately,
(ii) Click on the selected part of the text using RMB. Then a character/font
submenu will appear. The desired font size can be selected after
clicking(using LMB) on this submenu. Once the desired font size has
been selected, click(using LMB) on the OK button, and this would
change the font size of the selected text to the desired value.
E. Changing the spacing between the characters, and between the words
In Abiword, there is no facility to change the spacing between characters,
and between words. In Openoffice and Msword, these spacings can only be
changed together. In Pagemaker, these spacings can be specified independently.
In the following, basic guidelines are given for changing these spacings in
Openoffice, and Msword.
(i) Select the desired part of the text as in C(i) above.
(ii) In the format menu, click(using LMB) on the character submenu. In one
of the submenu of the character submenu, there is a provision to change
spacing between characters.
There are three choices: normal, expanded and condensed.
Normal would give default character spacing.
Using expanded, one can specify by how much(including fractions) the
spacing between the characters should be increased.
Then click(using LMB) on the OK button, and this would change the spacing
between characters in the selected part of the text. The spacing between
words would get adjusted accordingly.
The Similar steps can be taken for 'condensed' which reduces the spacing
between characters.
Alternately,
(ii) Click on the selected part of the text using RMB, and this would give
the character submenu. The remaining steps are the same as given above.
Pagemaker:
==========
In Pagemaker, the similar procedures apply. However, we need to click
(using LMB) on the paragraph submenu. Pagemaker accepts maximum and
minimum values for these parameters, and uses these values to
dynamically adjusts these spacings.
NOTE: It is not advisable to use kerned values for spacing between
characters.
F. Changing the spacing between lines
This is supported by all word processing software, and can be done as
follows.
(i) Select the desired part of the text as in C(i) above.
(ii) From the format menu, go to the paragraph submenu by clicking(using LMB)
on it. In Abiword, Msword, and Openoffice, the line spacing that can be
chosen are single line, 1.5 line, double line, and multiple. After
selecting multiple, one can also give any value such as 1.1, 1.2,
1.25 etc. In Pagemaker, this value is specified slightly differently
as percentage of single line spacing. After specifying the desired
line spacing, click(using LMB) on the OK button, and this would
change the line spacing of the selected part of the text.
Alternately,
(ii) Click on the selected part of the text using RMB, and this would give
the paragraph submenu. The remaining steps are the same as given above.
We hope that these informations would be useful, and help you to produce
beautiful looking Ol Chiki text for Santali language.
Comments